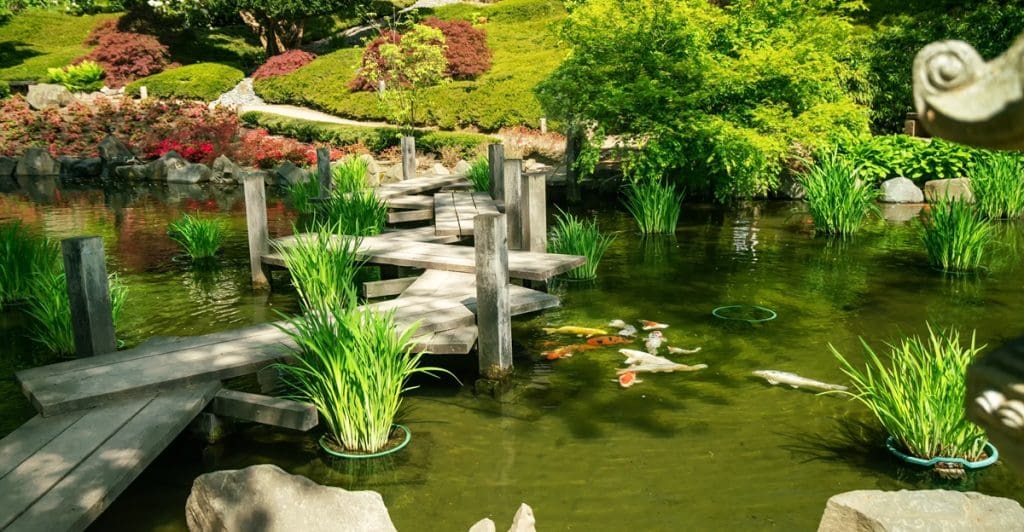
Imagine walking into your backyard, greeted by the soothing sound of trickling water and the sight of beautiful koi fish gracefully swimming in your own pond. Learning how to build a koi pond can be a rewarding project that enhances your outdoor space and provides a tranquil retreat to relax and unwind.
But where to start? There are many things to consider and a mistake or oversight on any one of them could result in disappointment or even failure. That’s why we made this guide to walk you through the process of creating your dream koi pond in 10 simple steps, ensuring that your koi thrive in a healthy and visually stunning environment!
Most Important Issues When Beginning a Koi Pond Build
Step 1: Choosing the Right Location
The location of your koi pond plays a vital role in the health of your fish and ease of maintenance. Consider accessibility, sunlight, and shade when selecting the perfect spot for your pond. A location close to the house is not only convenient for connecting a garden hose and having access to an external electrical outlet, but also encourages regular maintenance for the pond fish.
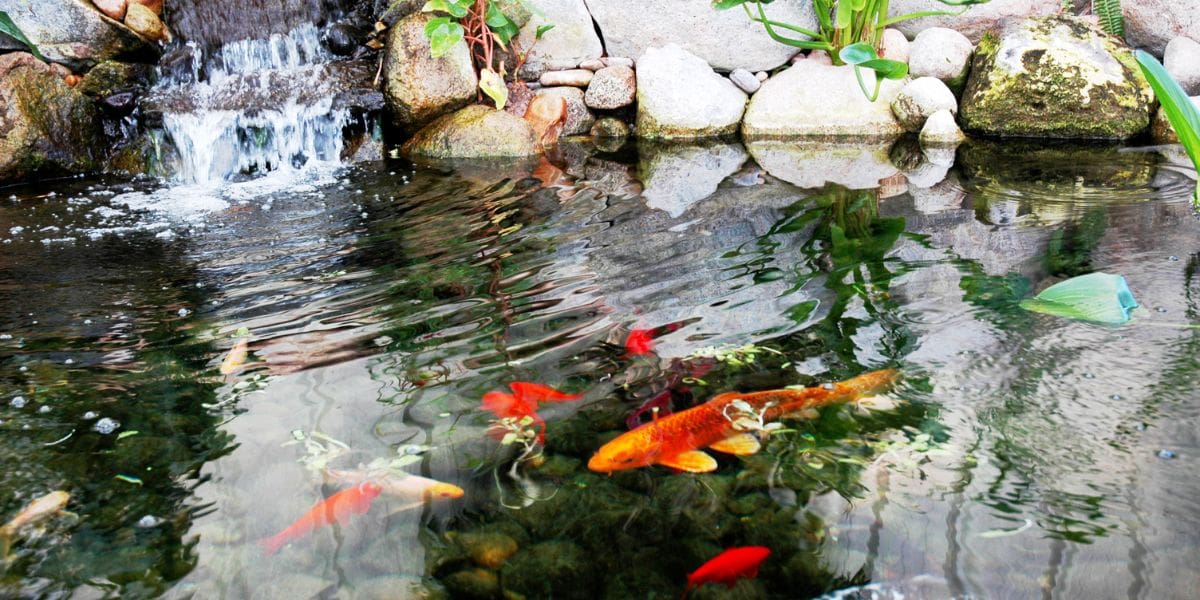


It’s also essential to avoid positioning the pond near trees, as this prevents debris from entering the pond when you build a koi pond.
Outdoor vs Indoor
Deciding whether to create your own koi pond, either outdoor or indoor, depends on your available space and personal preferences. Outdoor koi fish ponds offer natural filtration, increased capacity for fish, and the opportunity to customize the pond’s shape and size. However, they require a pond skimmer to remove debris and may be more susceptible to predators than indoor koi ponds.
On the other hand, indoor water garden ponds provide increased control over the environment and protection from predators. But they may require a larger tank, more expensive equipment, and can become overcrowded.
Sign Up for Our Newsletter
And Get Our eBook FREE!!!


Sunlight and Shade
Striking the right balance between sunlight and shade is essential for maintaining optimal water temperature and promoting healthy fish growth. Koi fish thrive in water temperatures between 65-75 degrees Fahrenheit. A partially shaded area is recommended to prevent excessive algae growth and maintain a stable water temperature.
This step should not be overlooked. You honestly cannot just choose any spot for a koi pond. There will be strengths and weaknesses for each location. If you chose a spot that is exposed all day to the sun then you will have to provide shade of some kind which will require effort and perhaps even extra cost.
Step 2: Planning and Designing Your Koi Pond
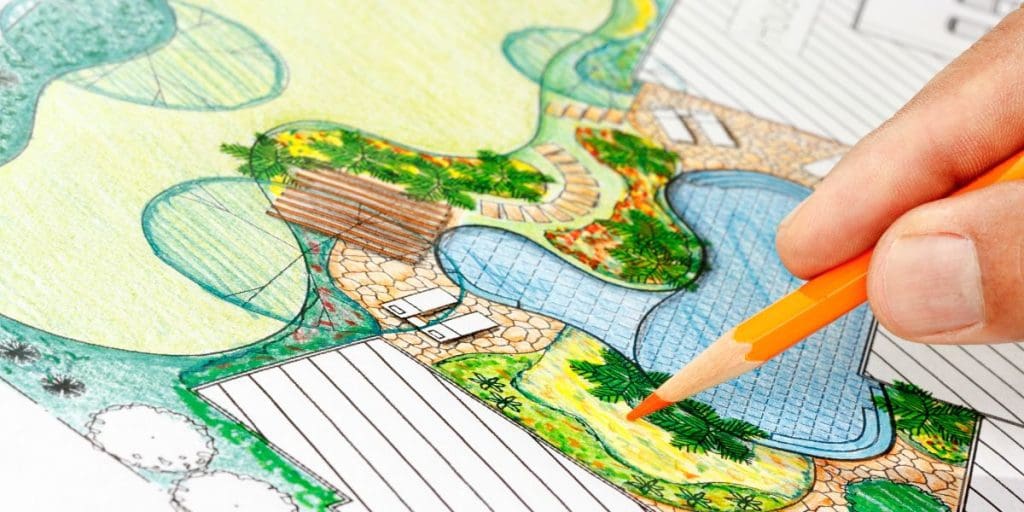

A successful koi pond project begins with careful planning and designing. Pond depth is crucial, as koi have specialized requirements that change with the seasons.
Starting with a comprehensive all-in-one koi fish pond kit is typically the most efficient way to build your initial backyard pond. There are numerous kits on the market and any one of them will likely make your job much easier. You can easily swap out any part of the kit that does not fulfill your needs.
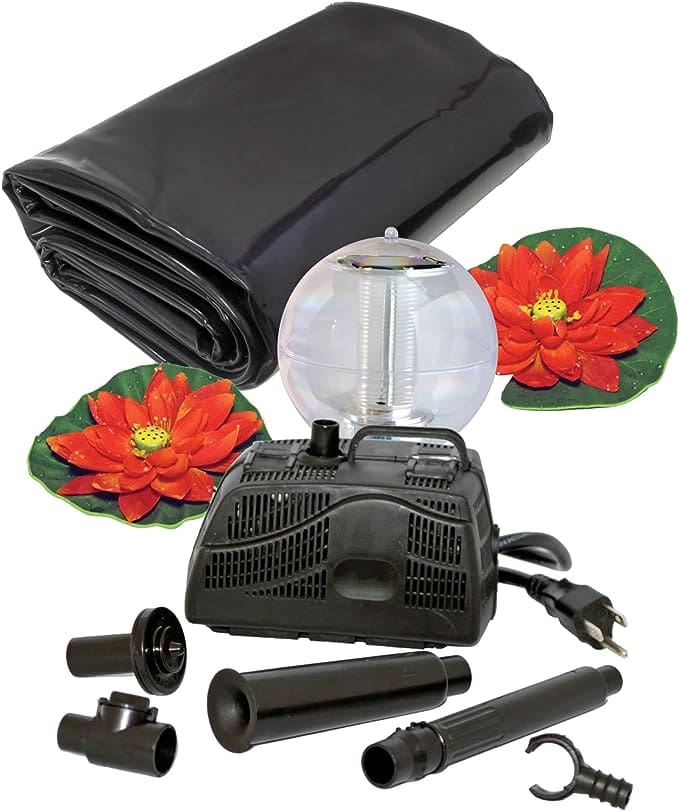

Don’t know how to start?
Try an All-in-One Koi Pond Starter Kit
A quick and fun way to get started on a koi pond cheaply and easily!
Size and Depth Considerations
Determining the appropriate size and depth for your pond is crucial to provide a comfortable environment for your koi. A koi pond should be no smaller than 1000 gallons. It should also be 2 feet deep at a minimum. However, a minimum depth of three to four feet is recommended to ensure the well-being of your fish.
For 10 or more koi, a 3,000-gallon pond is the minimum requirement. A deeper and larger pond is not only beneficial for your fish, but also more convenient for you to maintain.
Experimenting with Pond Shapes
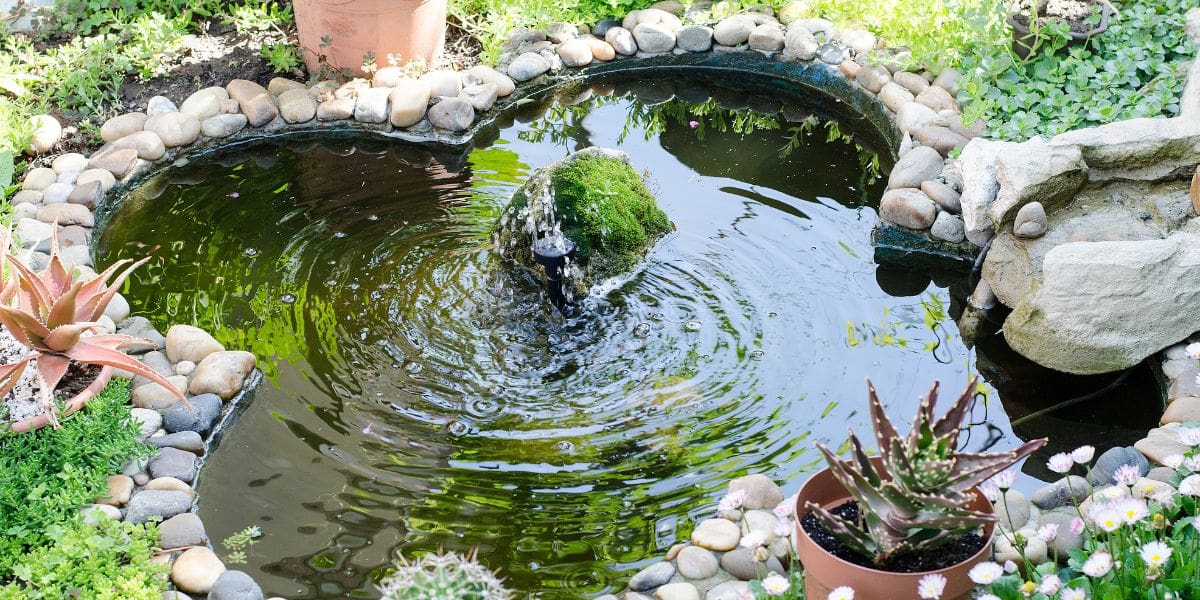

Once you have determined the size and depth of your pond, it’s time to experiment with various shapes. A length of rope, sand, or spray paint can be used to outline the shape of a pond on the ground. This is an effective method for doing so and ensures fewer unexpected occurrences once excavation begins. Consider factors such as the size and layout of your yard, the number and type of fish, and the overall aesthetic when determining the shape of your koi pond.
Don’t be afraid to get creative and try different shapes to find the one that suits your space and vision best.
Step 3: Gathering Materials and Equipment
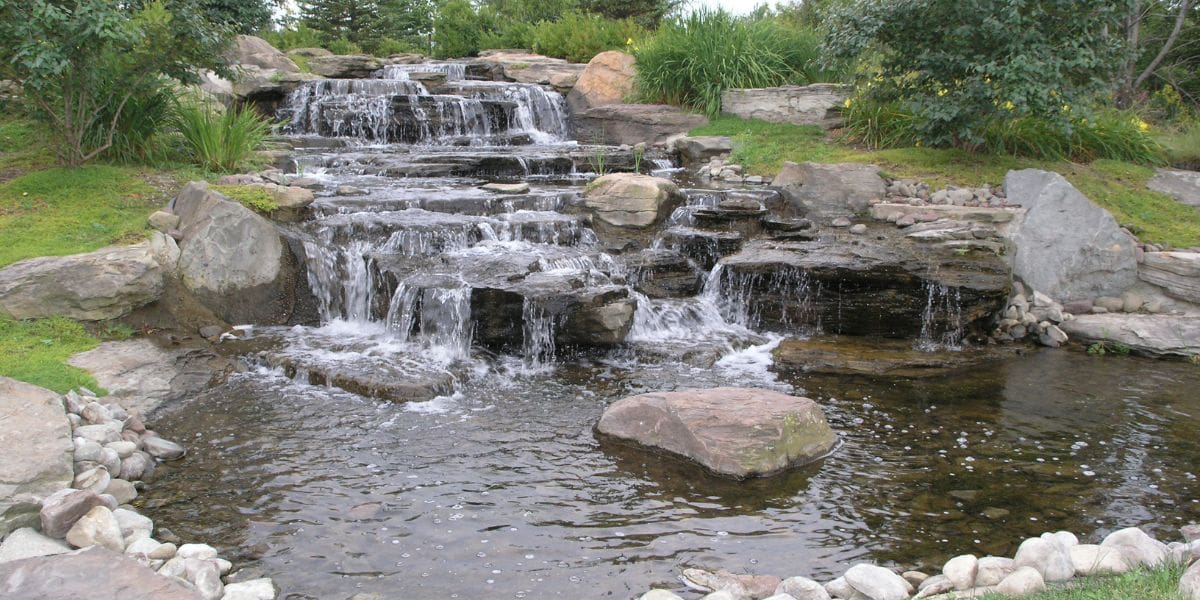

To build your koi pond, you’ll need to gather all the necessary materials and equipment. This includes a pond liner, pond skimmer, pond filter, external pump with pump basket, UV clarifier, drains, aeration equipment, automatic top-off, PVC primer and glue, and silicone. Each component serves a specific purpose in creating a healthy and functional koi pond environment.
Having all materials and equipment on hand before starting the project will ensure a smoother construction process.
Step 4: Excavating and Preparing the Site
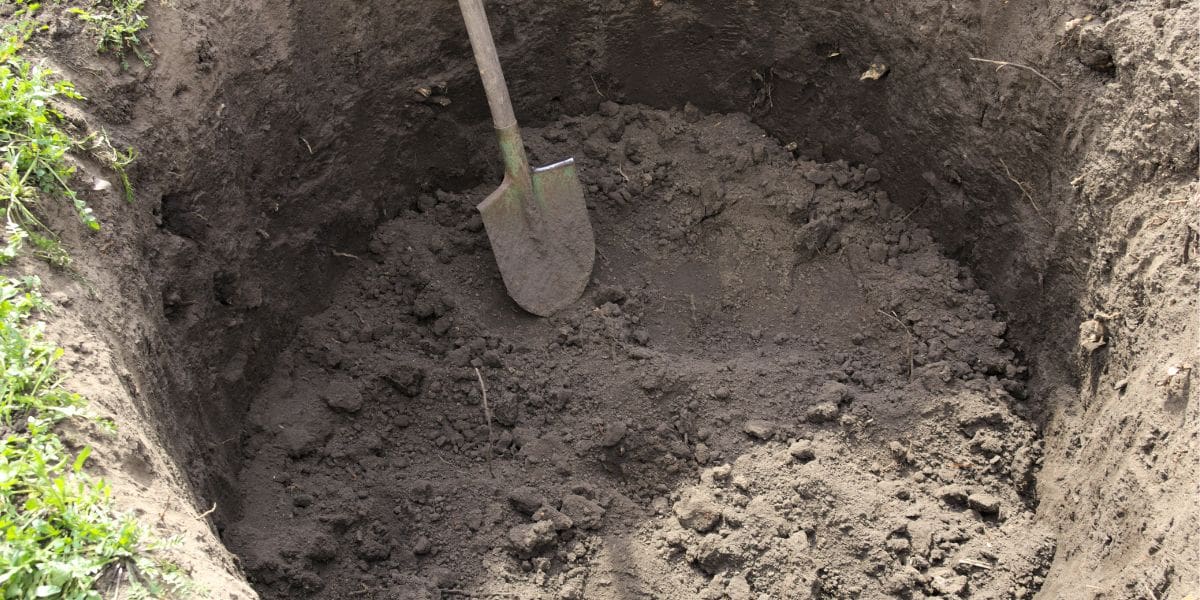

Before you start digging, it’s essential to remove all vegetation and other obstructions from the site. Excavate the area for your koi pond using manual excavation or hired heavy machinery. If your koi pond design includes waterfalls, use the excavated dirt to create elevation for cascades or contours for a waterfall.
Be sure to compact the soil to ensure it stays in place, as the pond will be subject to the pressure of thousands of pounds of pond water.
Step 5: Installing the Liner and Underlayment
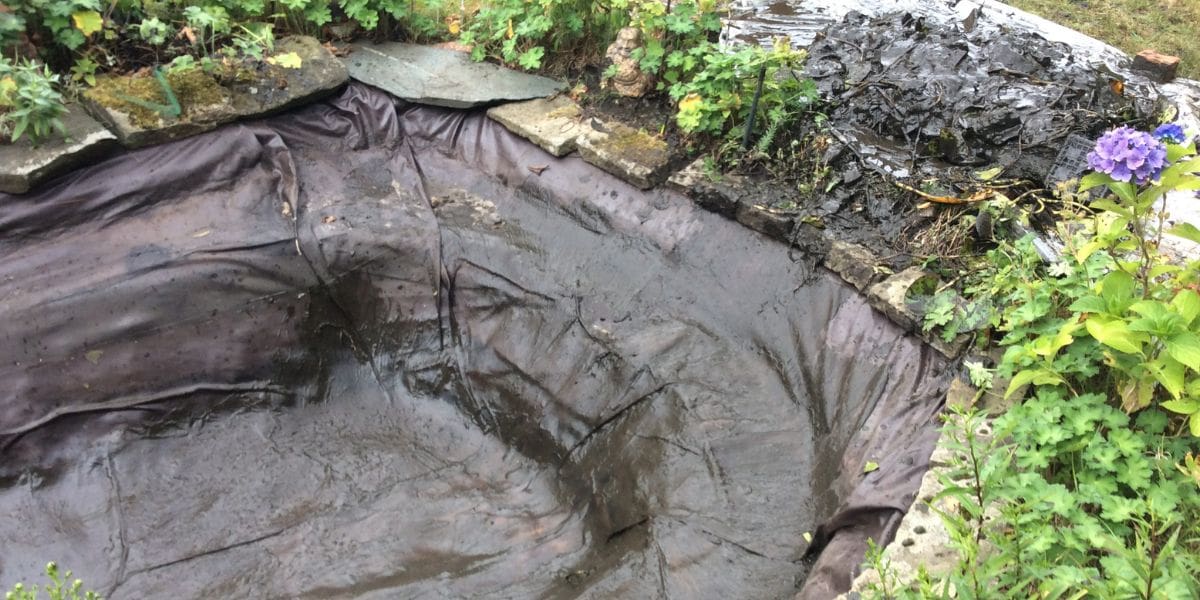

Before installing the pond liner, eliminate any rocks, roots, or other objects that could potentially puncture the liner. Unfold the EPDM liner and fit it to match the shape of the pond. Extend the liner onto the banks for a minimum one foot distance.
Install the underlayment first, followed by the pond liner. Fold the corners inward and leave at least 12 inches over the side walls of the pond to secure it with a cap board or stone. Secure the liner in place with heavy rocks or gravel to ensure it stays in position.
Step 6: Setting Up the Filtration System
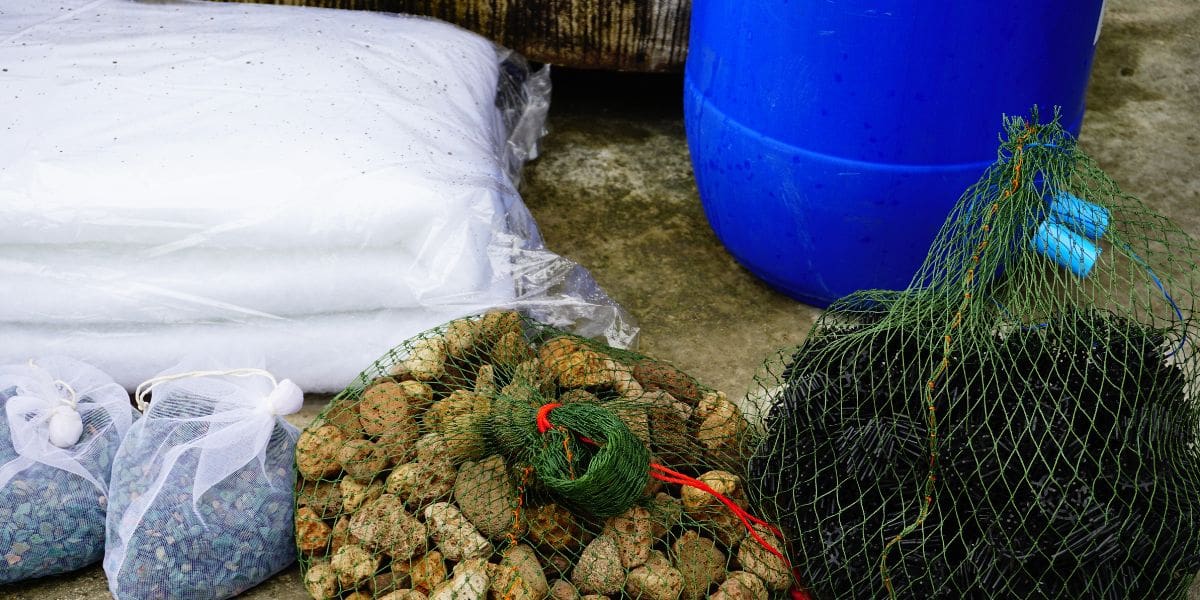

A proper filtration system is essential to maintain water quality and promote a healthy ecosystem for your koi. Set up the filtration system by installing a pump, skimmer, and biological filter. Pond filters come in a range of options, from sump systems to fully biological layouts, allowing you to choose the best fit for your pond.
Follow the instructions on your pond kit to attach the pond liner to the waterfall box and pump housing, ensuring a watertight connection. Sink the pump box level with the pond for proper water circulation.
Step 7: Adding Water and Adjusting Water Parameters
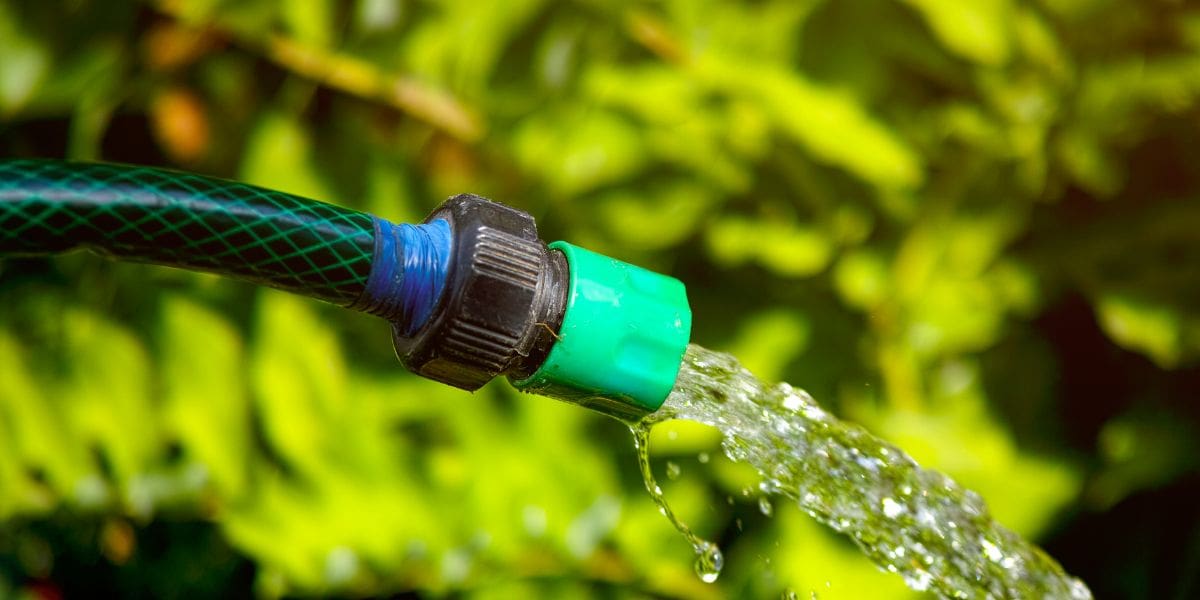

- Attach the hose to the faucet and turn the water on.
- Allow the water to fill the pond until it’s overflowing. It’s essential to maintain optimal water quality for the health of your koi fish, so use a water quality kit to ensure a high-quality water source.
If you’re using municipal water to keep koi fish, it is important to add a dechlorinator. For added precaution, it’s best to let the water sit for about 24 hours to allow chlorine to dissipate before introducing any koi fish.
Step 8: Landscaping and Decorating the Pond
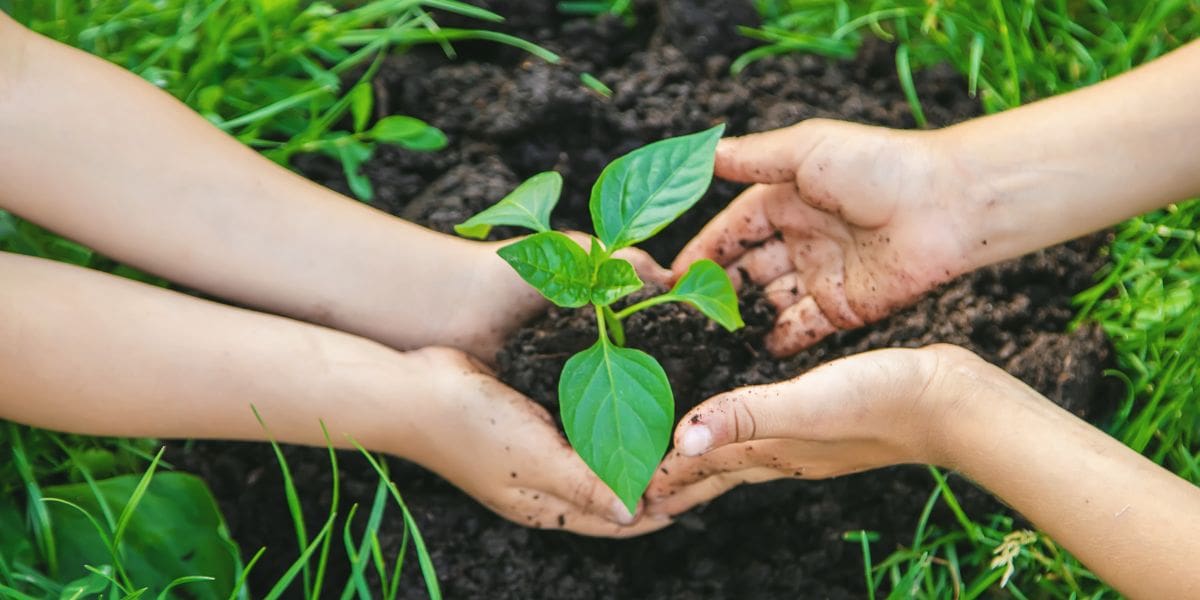

Landscaping and decorating your koi pond not only enhances its aesthetic appeal, but also creates a natural and comfortable environment for your fish. Aquatic plants can offer protection, shade, and oxygen to koi fish while adding visual interest to your pond.
Use rocks and gravel to secure the liner and provide a natural-looking environment.
Selecting Aquatic Plants
Choose a variety of aquatic plants that provide shelter, shade, and oxygen for your fish while enhancing the pond’s appearance. Water hyacinth, water lettuce, Hornwort, and pond lilies are all viable options for your koi pond. Each plant offers unique benefits, such as rapid growth, nutrient absorption, and winter-hardiness.
Cultivate your chosen plants in baskets or a filter pond to secure them and prevent koi from eating them, while also promoting the growth of beneficial bacteria.
Adding Rocks and Gravel
Add rocks and gravel to the pond’s bottom and edges to secure the liner and create a natural-looking environment. Use smooth stones for the bottom of the pond and fill in the gaps between rocks with gravel and rocky soil.
Put large flat stones at the bank for holding the liner in place. This is necessary to ensure that the liner does not unintentionally loosen or move. Take precautions to ensure all parts of the EPDM liner remain covered. Exposed sections of this material deteriorate quickly when exposed to sunlight.
Step 9: Introducing Koi Fish and Pond Mates
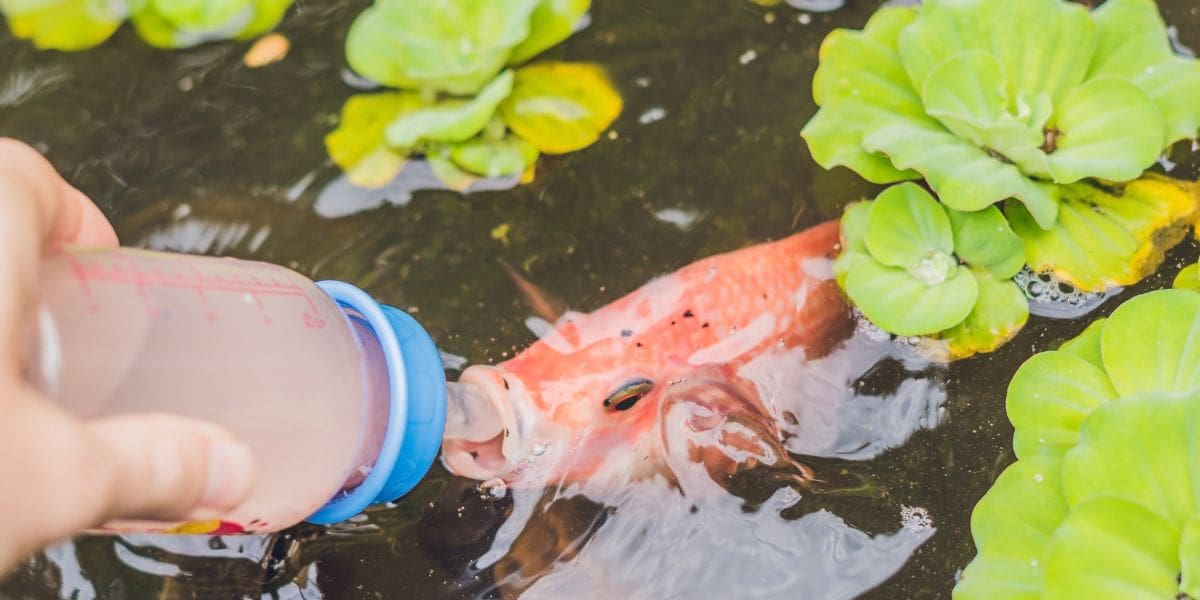

Once your koi pond is complete, it’s time to introduce your koi fish and compatible pond mates. Goldfish are the most suitable companions for koi fish in a pond. To introduce koi fish to your pond, place them in plastic bags with water and acclimate them to the water temperature before releasing them into the pond. This ensures a stress-free introduction and promotes healthy growth.
When selecting koi fish, look for fish alive with vibrant colors and no signs of disease.
Step 10: Maintaining Your Koi Pond


Regular maintenance is crucial for a thriving koi pond ecosystem and healthy fish. Clean your koi pond at least once a year, with weekly maintenance tasks such as 10% water changes, skimming the water surface, and cleaning the filters.
Test the water quality regularly and replace the water twice a year (spring and fall) to ensure optimal conditions for your koi fish.
Breakdown
Building a koi pond can be a rewarding project that adds beauty and tranquility to your outdoor space. By carefully considering factors such as location, size, and design, and following these 10 simple steps, you can create a thriving ecosystem for your koi fish. With regular maintenance and care, your koi pond will provide endless enjoyment and relaxation.
Frequently Asked Questions
How deep should a koi pond be?
For serious koi keeping, a pond should be at least 3 feet deep with no areas shallower than 2 feet to prevent predators from preying on your fish. This will ensure that your fish have plenty of room to swim and hide from predators.
How much does it cost to build your own koi pond?
It typically costs between $5,000 and $15,000 to install a good quality koi pond in one’s backyard, with an average cost of $10,500.
Factors such as size, materials and additional features can influence the overall cost.
Can I build a koi pond myself?
Yes, you can easily build a koi pond by having all the necessary components and properly choosing its location. Make sure to also use filters, pumps, skimmers, and aerators for optimal health of the koi fish.
These components are essential for the pond’s health and will help keep the water clean and oxygenated. Additionally, you should also consider adding a UV sterilizer to the pond to help reduce the risk of the disease.
How do I prevent algae growth in my koi pond?
To prevent algae growth in your koi pond, ensure there is a balanced mix of sunlight and shade for the optimal water temperature.
How often should I clean my koi pond?
To keep your koi pond healthy and free from algae, it’s important to clean it at least once a year, with weekly maintenance tasks.
 1 (509) 228-8646


